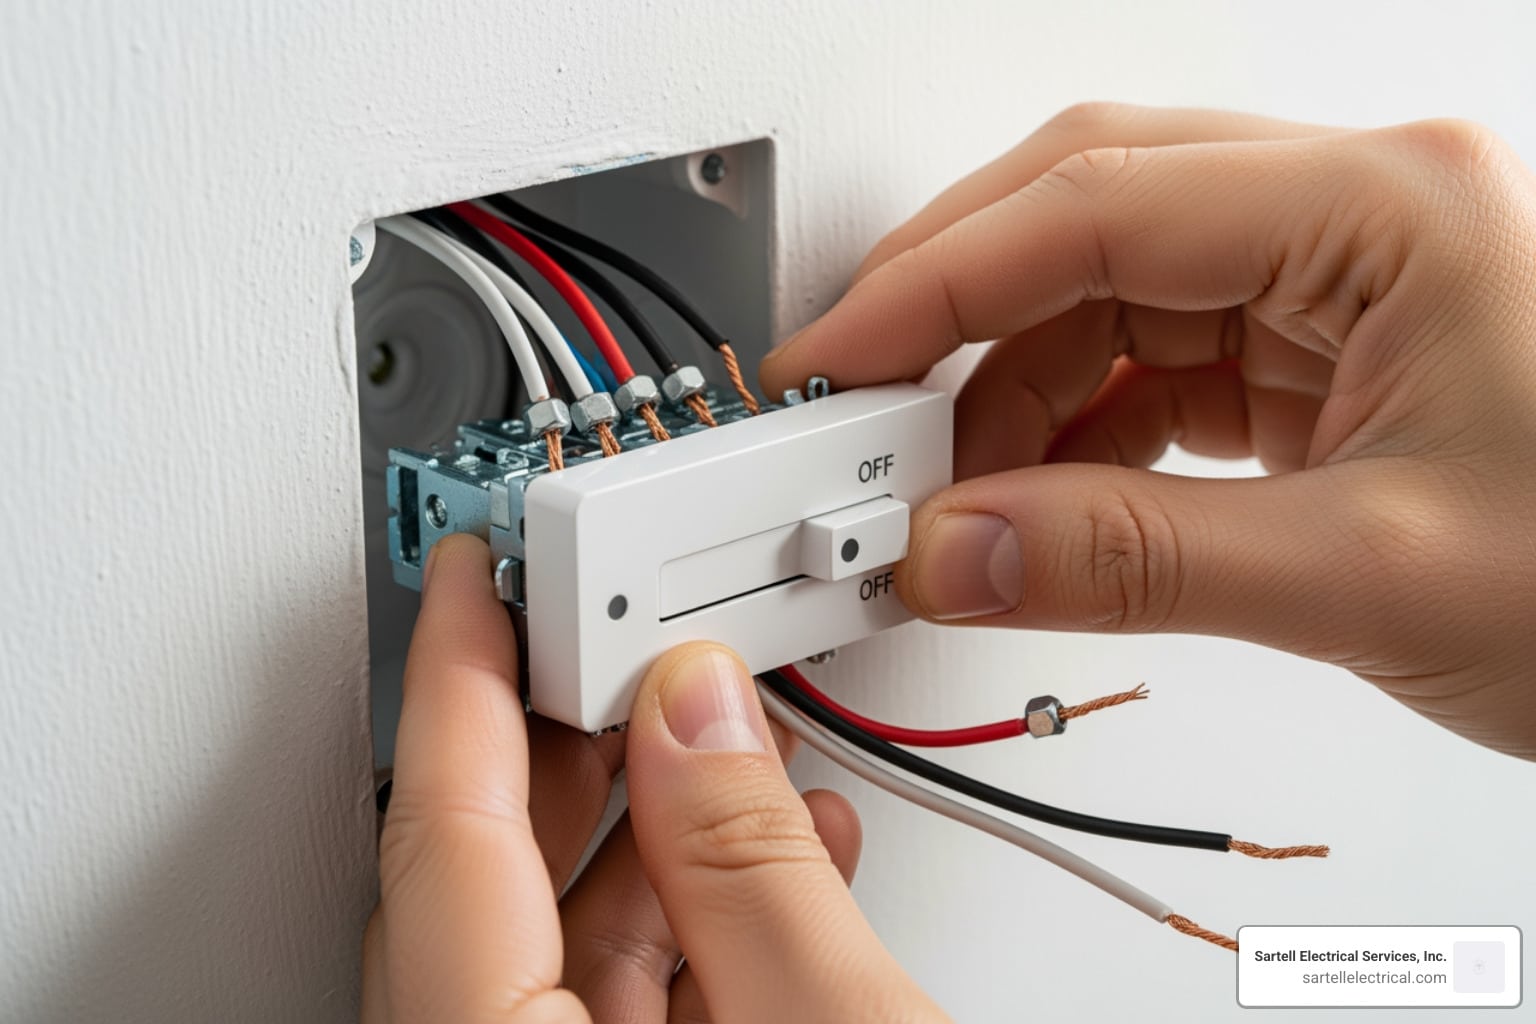
Upgrade Your Ambiance and Control
A
3 way dimmer switch install lets you control a single light from two locations—like at the top and bottom of a staircase—while also adjusting the brightness. Instead of just flipping lights on or off, you gain full control over your lighting levels, which helps save energy and create the perfect ambiance.
Quick Answer: Installing a 3-Way Dimmer Switch
- Turn off power at the circuit breaker and verify with a voltage tester
- Identify wires at your existing 3-way switch (common wire on black/dark screw, two traveler wires, ground wire)
- Choose one location for your dimmer—only one dimmer per circuit, the other remains a standard 3-way switch
- Connect the dimmer: ground to ground (green/bare copper), black dimmer wire to common, red dimmer wires to travelers
- Secure everything, restore power, and test
Important: Traditional 3-way circuits allow dimming from only one location. For dimming control from both locations, you'll need a smart dimmer system like Lutron Caseta.
This is a
beginner-level project that takes
under 2 hours. You'll need basic tools like screwdrivers, wire strippers, and a voltage tester. The result is adjustable lighting that improves comfort, reduces energy use, and adds modern convenience to your home.
About the Author: I'm Ed Sartell, and I've been guiding clients through electrical projects—including countless 3 way dimmer switch install jobs—since founding Sartell Electrical Services in 1985. Whether you're tackling this DIY or need professional help, I'm here to get it right.
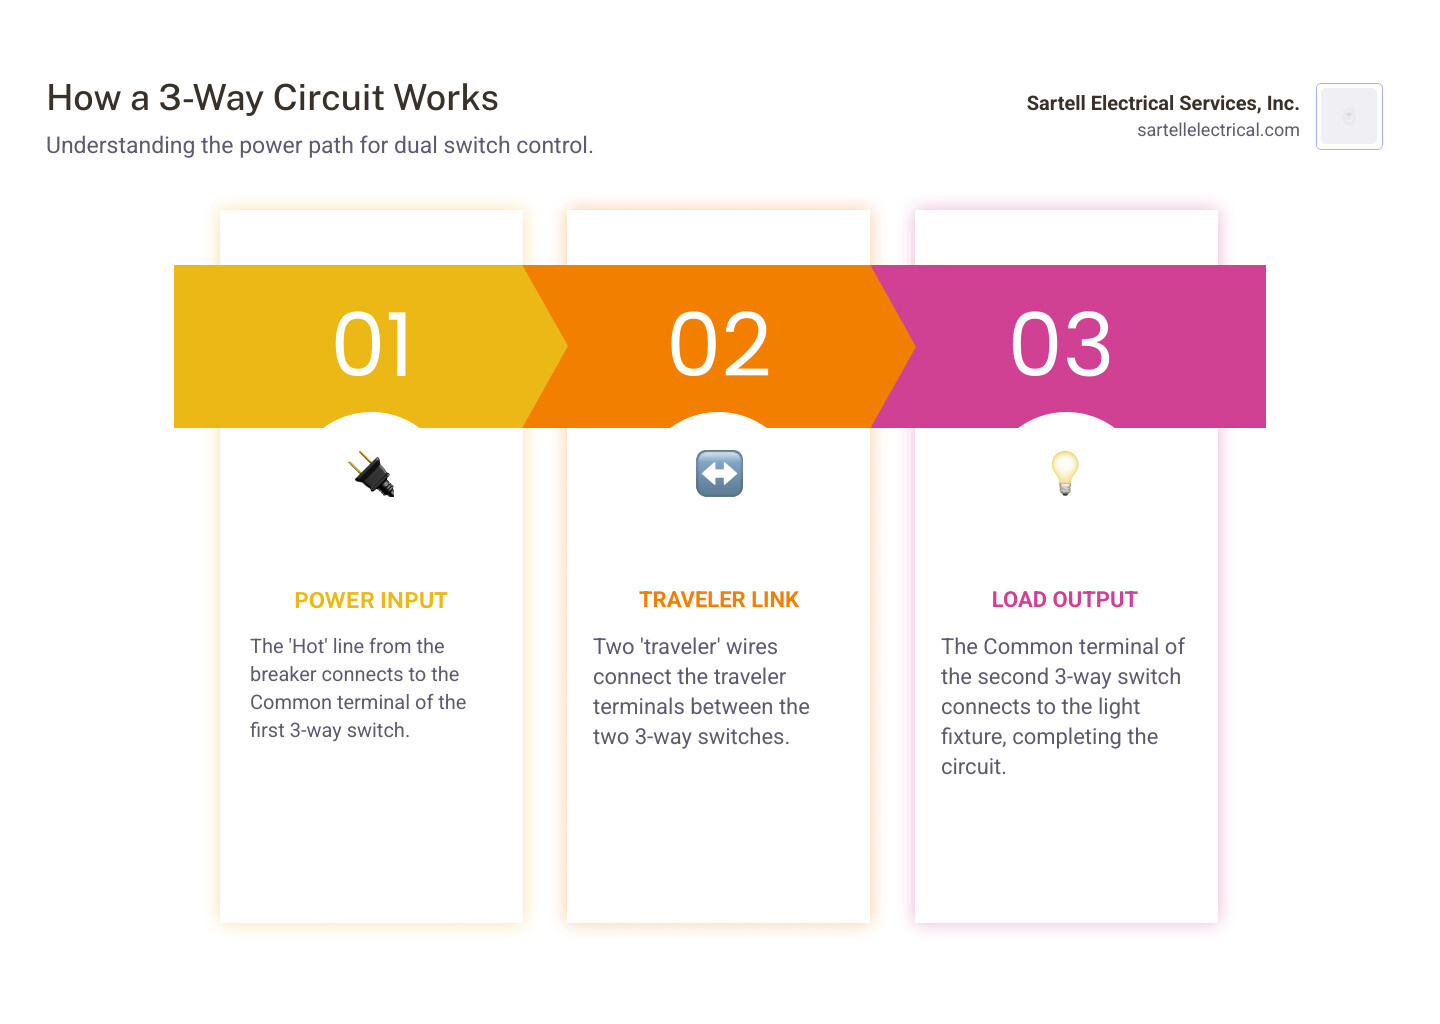
Before upgrading your lighting, safety is the top priority. A
3 way dimmer switch install carries risks of serious injury if you don't take precautions. If you feel uncertain, call a licensed electrician. Sartell Electrical Services is ready to assist homeowners and businesses throughout Massachusetts.
First, cut power to the circuit at your main electrical panel (circuit breaker or fuse box) by flipping the breaker to "OFF". Don't just rely on the wall switch. Verify the power is off using a non-contact voltage tester on the wires in the switch box. If the tester is silent and dark, you can proceed. If it beeps or lights up, the power is still on; find the correct breaker. For more on home electrical safety, see our guide on
Electrical Safety Checks.
Be aware of potential code violations. All electrical work in Massachusetts, including a
3 way dimmer switch install, must comply with the National Electrical Code (NEC) and local codes for safety. For instance, some dimmers require a neutral wire that older homes may lack. If you're unsure about compliance, our experts can ensure your installation meets all standards.
Having the right tools and materials makes any project smoother and safer. For your
3 way dimmer switch install, you'll need:
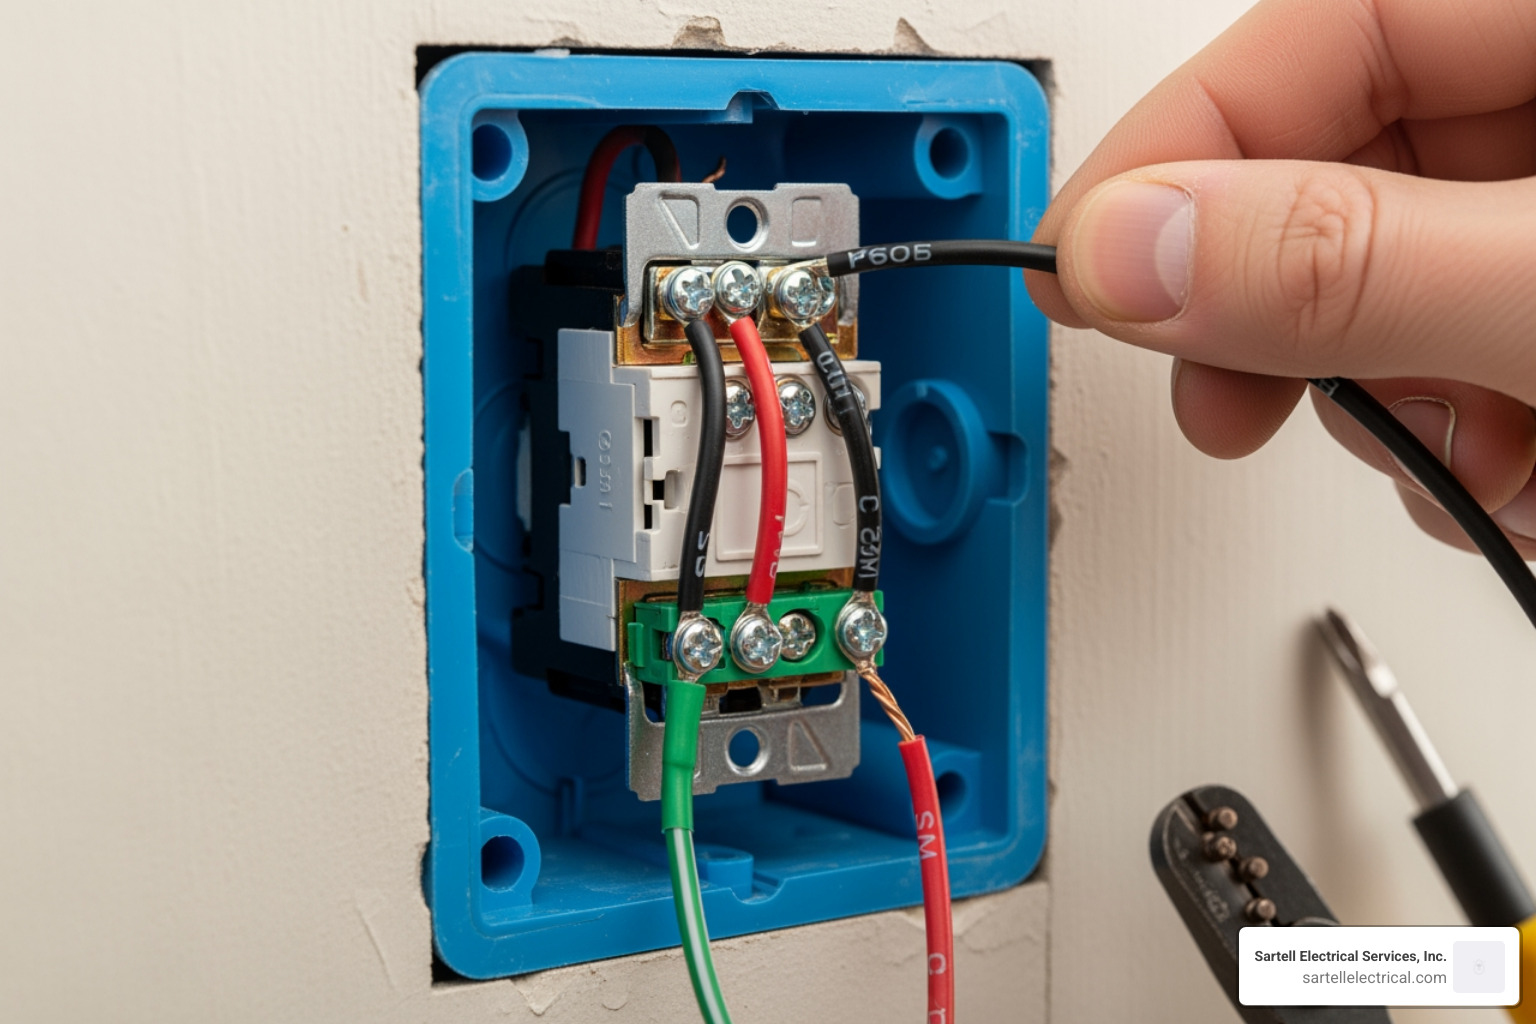
- Non-contact voltage tester: Essential for verifying power is off.
- Phillips & flathead screwdrivers: For removing plates and connecting wires.
- Wire strippers: To safely remove wire insulation.
- Pliers (needle-nose or lineman's): For bending and connecting wires.
- Electrical tape: For marking wires and insulating connections.
- Wire connectors (wire nuts): To join wires securely.
- Your new 3-way dimmer switch: Ensure it's a 3-way model, not single-pole.
- Compatible wall plate: Often included, but sometimes sold separately.
Choosing the Right 3-Way Dimmer
Selecting the correct dimmer is critical. Not all dimmers are equal, and compatibility with your lights is paramount.
Dimmer styles include:
- Standard dimmers: Slide, toggle, or rotary designs.
- Smart dimmers: Integrate with smart home systems for app control and scheduling.
A key factor is the dimmer's
wattage rating. Calculate the total wattage of all bulbs on the circuit. For example, six 60-watt bulbs total 360 watts, so you need a dimmer rated for at least that much. Removing side tabs for multi-gang installations can reduce a dimmer's capacity.
Beyond wattage,
lighting type compatibility is crucial. Dimmers are rated for specific lights:
- Incandescent and Halogen bulbs: Most traditional dimmers work well with these.
- LED bulbs: This can be tricky. You must use a dimmer designed for dimmable LEDs. Mismatches can cause flickering, buzzing, or premature bulb failure. Be aware of "Leading-Edge" vs. "Trailing-Edge" compatibility. Smart LED bulbs (Wi-Fi, Zigbee) are generally not compatible with standard dimmers, as they have internal dimming circuits.
- CFL bulbs: Only use dimmers specifically labeled for dimmable CFLs.
- Magnetic Low-Voltage (MLV) lighting: Requires a specific MLV dimmer.
We've seen countless cases where an incorrect dimmer choice leads to frustration. Always check the dimmer's specifications and the bulb's packaging for compatibility. For more insights into upgrading your home's electrical systems, visit our page on
Residential Electrical Upgrades.
Identifying Your Wires: The Key to Success
Understanding each wire's function in the switch box is the most critical step for a successful
3 way dimmer switch install. A 3-way setup has more wires than a single-pole switch, and correct identification prevents headaches.
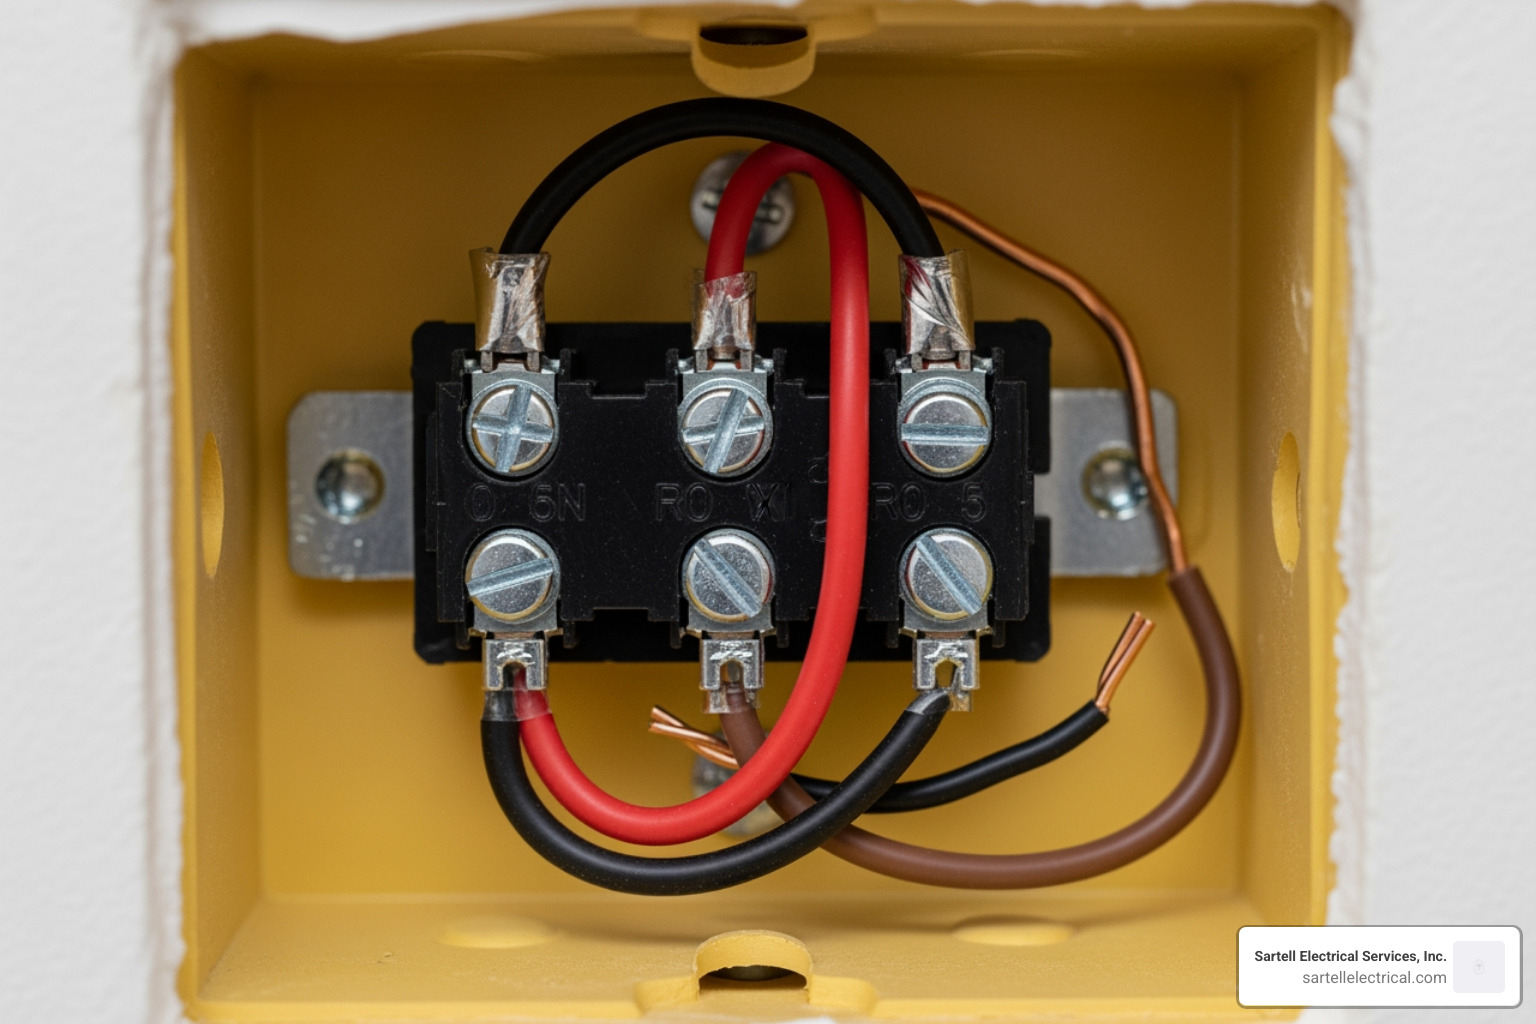
Here's how to identify them:
- Common Wire: This is the most important wire. On an existing 3-way switch, it connects to a screw of a different color (often black or brass) or one labeled "COMMON". This wire is either the power source (Line) or goes to the light fixture (Load). Tag this wire with electrical tape immediately. It connects to the dimmer's common terminal.
- Traveler Wires: These two wires run between the two 3-way switches. They connect to the two same-colored screws on the old switch (usually silver). Their voltage changes with the other switch's position. They connect to the dimmer's traveler terminals.
- Ground Wire: This safety wire is usually bare copper or green. It connects to the green screw on your new dimmer. If no ground wire exists in your wallbox, the NEC® allows a replacement dimmer to be installed without one, provided a noncombustible plastic wallplate is used. In that case, cap the dimmer's green ground wire.
- Neutral Wire: This wire (usually white) completes the circuit. It may not be in the switch box in older homes. However, many modern and smart dimmers require a neutral wire. If your dimmer needs a neutral and you don't have one, you may need a different dimmer or professional help.
A note on wire colors: While there are typical color codes, they aren't always consistent. Always identify wires by their function on the old switch, not just by color. Using electrical tape to mark each wire's function before disconnecting anything is a best practice. For a deeper dive into residential wiring, explore our guide on
Standard Residential Electrical Wiring.
Your Step-by-Step 3-Way Dimmer Switch Install Guide
With safety and wire identification covered, let's begin the
3 way dimmer switch install. Proceed with caution and double-check every step.
First, confirm the power is
OFF with your voltage tester. Remove the wall plate and unscrew the existing 3-way switch from the box. Gently pull it out to expose the wires, but don't disconnect them yet. Now is the time to label each wire as previously discussed. Taking a photo of the existing wiring is a great backup.
Once you're confident in your wire labels, disconnect the wires from the old switch. We cover dimmer wiring in more detail on our
Dimmer Switch Wiring page. After connecting the new dimmer, carefully fold the wires back into the box, ensuring no bare copper is exposed and wires aren't pinched. Secure the new dimmer to the box with the provided screws.
Replacing an Existing Switch: A Typical 3-Way Dimmer Switch Install
In a standard
3 way dimmer switch install, you replace one of two existing 3-way switches with a dimmer. The other location keeps a standard 3-way switch. For traditional dimmers, you can only have one dimmer per circuit.
Here's how to connect the dimmer's wires:
- Connecting the Ground Wire: Connect the green ground wire from your new dimmer to the green or bare copper ground wire(s) in the box using a wire nut.
- Connecting the Common Wire: Connect the house wire you labeled "Common" to the black wire (or designated common terminal) on your new dimmer.
- Connecting the Traveler Wires: Connect the two house wires you labeled as "Travelers" to the two remaining wires (often red) on your dimmer. The specific pairing usually doesn't matter.
Ensure all wire nuts are tight. Give each wire a gentle tug to confirm the connection is secure.
Wiring a Dimmer with a Standard Switch: The Most Common 3-Way Dimmer Switch Install
As highlighted, the "one dimmer per circuit" rule is key for traditional setups. The other switch must be a standard 3-way switch or a compatible "companion" switch.
- If your dimmer has a "companion" switch: Some smart dimmer systems (e.g., Lutron Maestro) require a specific companion switch at the second location. These aren't full dimmers but communicate with the main dimmer for control. Their wiring is often simpler. Always follow the manufacturer's instructions.
- If using a standard 3-way switch at the second location: This is the most common setup. The existing or a new standard 3-way switch remains at the other location. Its wiring is typically unchanged. This switch will provide on/off control at the brightness level set by the dimmer.
Ensuring Compatibility: This is where many DIYers run into trouble. Some dimmers are
not compatible with standard mechanical 3-way switches and require a specific accessory switch. Always verify your dimmer's instructions for what is required at the second switch location. For more on complex lighting setups, see our page on
How to Connect Multiple Light Switches.
The magic of a
3 way dimmer switch install relies on compatibility between your dimmer and light bulbs. A mismatch can cause flickering, buzzing, or inconsistent dimming.
- LED Bulb Compatibility: This is the most common challenge.
- Dimmable LEDs: Only use bulbs labeled "dimmable." Standard LEDs will flicker, buzz, or fail with a dimmer.
- Flickering Issues: Flickering often means bulb/dimmer incompatibility (e.g., Leading-Edge vs. Trailing-Edge) or the total wattage is below the dimmer's minimum load.
- Buzzing Noises: A slight hum can be normal, but loud buzzing suggests incompatibility or an overloaded circuit.
- Smart LED Bulbs: Do not use smart bulbs (e.g., Wi-Fi enabled) with a wall dimmer. They have internal dimming and will conflict.
- Incandescent & Halogen Bulbs: These are the easiest to dim and work well with most traditional dimmers.
- CFL Bulbs: Only use CFLs labeled as "dimmable" and pair them with a CFL-specific dimmer. Performance can be inconsistent.
Choosing the right LED bulb and dimmer combination is crucial. Many dimmer manufacturers provide compatibility lists; it's always a good idea to consult them.
Here’s a quick overview of compatibility requirements:
| Lighting Type |
Dimmer Compatibility Requirements |
| LED |
Use "Dimmable LED" bulbs with an LED-specific dimmer. Check compatibility lists. Avoid use with smart bulbs. Note Leading/Trailing-Edge types and dimmer's minimum load. |
| Incandescent |
Compatible with most standard dimmers. Don't exceed dimmer's max wattage. |
| Halogen |
Similar to incandescent. Compatible with most standard dimmers. Don't exceed dimmer's max wattage. |
| CFL |
Use "Dimmable CFL" bulbs with a CFL-specific dimmer. Performance can vary; buzzing/flickering is common. |
| Fluorescent |
Not compatible with standard dimmers. Requires special dimming ballasts and fluorescent dimmers. |
| Low-Voltage |
Magnetic (MLV) and Electronic (ELV) types require their own specific dimmers. Do not interchange. |
| Smart Bulbs |
(e.g., Wi-Fi, Zigbee) Not compatible with wall dimmers. Dim via app/hub. Use a standard or smart on/off switch. |
| Ceiling Fans |
Not compatible. Use a fan speed control switch. A light dimmer can cause motor damage and fire risk. |
| Receptacles |
Not compatible. Dimmers are for permanent light fixtures only. |
| Motor Loads |
Not compatible. Using a dimmer on a motor (e.g., exhaust fan) can cause damage and fire risk. |
| Appliance |
Not compatible. Appliances need consistent voltage. |
Troubleshooting and Finishing Touches
Even with careful planning, a
3 way dimmer switch install can have issues. Don't worry; most common problems have simple solutions.
Here are some troubleshooting steps:
- Lights Won't Turn On:
- Power off? Check the circuit breaker.
- Connections loose? Gently tug each wire nut to confirm a tight connection.
- Common wire misidentified? This is a frequent error in 3-way setups and will prevent the circuit from working.
- Bulb incompatibility? Ensure bulbs are dimmable and compatible.
- Lights Flicker or Buzz Loudly:
- Bulb-dimmer incompatibility: The most common cause, especially with LEDs. Try another dimmable LED brand or check the dimmer's compatibility list.
- Minimum load not met: The total wattage of your LEDs may be too low for the dimmer.
- Loose connections: Re-check all wiring.
- Dimmer is Warm to the Touch:
- A dimmer feeling slightly warm during operation is normal as it dissipates heat. If it's excessively hot or you smell burning, turn off the power immediately and investigate.
- Switch Doesn't Dim (only on/off):
- Are your bulbs dimmable? This is a common oversight.
- Is the dimmer wired correctly? Ensure common and traveler wires are connected per the instructions.
- For smart dimmers: Check app settings; dimming may need to be enabled or calibrated.
If you've tried these steps and still have issues, it might indicate a more complex problem. Our team provides comprehensive
Home Electrical Repair Service throughout Massachusetts and can diagnose and fix any issue safely.
Once your dimmer works correctly, align and secure it in the box. Attach the new wall plate, restore power at the breaker, and test your new
3 way dimmer switch install. For more specific troubleshooting, consult the manufacturer's support pages, like this one for
Lutron products.
Conclusion: Enjoy Your Newfound Control
Congratulations on completing your
3 way dimmer switch install. This project, while more complex than a standard switch replacement, offers significant benefits. You've gained the power to adjust your lighting for the perfect mood, improve comfort, and save energy by not always running lights at full brightness.
We've walked through the essential steps, from safety and wire identification to ensuring compatibility. We hope this guide has empowered you to tackle this rewarding DIY upgrade.
However, electrical work can be daunting. If you encounter unexpected wiring, feel unsure, or simply prefer the peace of mind that comes with professional expertise, please don't hesitate to reach out. Our licensed electricians at Sartell Electrical Services are here to help. We've served residential and commercial clients across Massachusetts, including Greater Boston, Essex County, Middlesex County, and Norfolk County, for over 30 years.
For safe and reliable electrical work in Massachusetts, trust the experts at Sartell Electrical Services.
Explore our Residential Electrical services today and let us illuminate your world with precision and professionalism.